
Setting Up raspberry pi Part 1
Part 1: Preparing for Launch - OS Installation with Raspberry Pi Imager
The Raspberry Pi is a versatile little computer, perfect for a wide range of projects. But before you can dive into the fun stuff, you need to get an operating system (OS) installed. This guide will walk you through the process using the official Raspberry Pi Imager tool.
What You’ll Need:
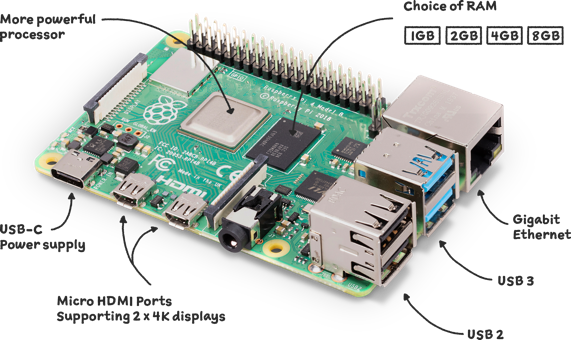
- Raspberry Pi (any model)
- MicroSD card (at least 8GB recommended)
- MicroSD card reader
- Computer (Windows, macOS, or Linux)
- Internet connection
Step 1: Download and Install Raspberry Pi Imager
- Head over to the official Raspberry Pi website: https://www.raspberrypi.com/software/
- Download the Raspberry Pi Imager for your operating system.
- Install the Imager following the on-screen instructions.
Step 2: Prepare the MicroSD Card
- Insert your MicroSD card into the card reader and connect it to your computer.
- Open the Raspberry Pi Imager.
Step 3: Choose the OS and Storage
- Click “CHOOSE OS.” You’ll see a list of recommended operating systems. For beginners, “Raspberry Pi OS (recommended)” is a great starting point. You can also choose other OS like Ubuntu or operating systems for specific projects.
- Click “CHOOSE STORAGE” and select your MicroSD card. Be absolutely sure you select the correct drive, as this process will erase all data on the card.
- (Optional) Click on the gear icon for advanced options. Here you can set hostname, enable ssh, set username and password, and configure wifi. This is very helpful when you plan to use the raspberry pi headlessly.
Step 4: Write the OS to the MicroSD Card
- Click “WRITE.” The Imager will download the OS and write it to your MicroSD card.
- Wait for the process to complete. This may take a few minutes, depending on your internet speed and the size of the OS.
- Once the writing is complete, the Imager will verify the installation.
Step 5: Boot Your Raspberry Pi
- Safely eject the MicroSD card from your computer.
- Insert the MicroSD card into the Raspberry Pi.
- Connect a monitor, keyboard, and mouse (if needed for initial setup) and power on the Raspberry Pi.
- The Raspberry Pi will boot into the OS. Follow any on-screen instructions to complete the initial setup.
Part 2: Enabling SSH and Upgrading Your System
Now that you have your Raspberry Pi running, you’ll likely want to access it remotely using SSH. This allows you to control your Pi from another computer without needing a monitor, keyboard, and mouse connected directly.
Step 1: Enabling SSH
- Using the Raspberry Pi Imager (Recommended for Headless Setup): As described above, when using the imager tool, you can enable SSH and set up username and password from the advanced settings.
- Through the Raspberry Pi OS interface:
- Open the Raspberry Pi Configuration tool. You can find it in the “Preferences” menu.
- Go to the “Interfaces” tab.
- Enable SSH.
- Click “OK.”
Step 2: Finding Your Raspberry Pi’s IP Address
To connect to your Raspberry Pi via SSH, you need to know its IP address.
- Using the terminal on the Raspberry Pi: Open a terminal window and type
hostname -I. This will display the IP address. - Using your router’s admin interface: Log in to your router’s admin panel and look for connected devices. The Raspberry Pi should be listed with its IP address.
- Using
nmapon another computer on the same network:nmap -sn 192.168.1.1/24Replace192.168.1.1/24with your network’s IP range.
Step 3: Connecting via SSH
- Open a terminal or command prompt on your computer.
- Type
ssh pi@<your_raspberry_pi_ip_address>. Replace<your_raspberry_pi_ip_address>with the IP address you found. - If this is your first time connecting, you’ll be prompted to confirm the host’s authenticity. Type
yesand press Enter. - Enter the password for the “pi” user (the default password is “raspberry” unless you changed it during setup).
Step 4: Upgrading Your System
It’s crucial to keep your Raspberry Pi’s software up to date.
-
Once you’re connected via SSH, type the following commands:
1
2
sudo apt update
sudo apt full-upgrade -y
sudo apt updateupdates the package lists.sudo apt full-upgrade -yupgrades all installed packages to their latest versions, and the-yoption automatically confirms the upgrade.
-
After the upgrade is complete, reboot your Raspberry Pi:
1
sudo reboot
Now your Raspberry Pi is set up, accessible via SSH, and running the latest software. You’re ready to start exploring the endless possibilities of this powerful little computer!